Hey everyone, welcome back to my kitchen adventure!
I love trying recipes from different cultures. For me, spending time in the kitchen is just pure fun. And today, I’m sharing a new recipe so you can join in on the fun.
You must have heard of French desserts before. Well, today, I’m going to share the recipe for a dessert with a story: the famous French Tarte Tatin.
The Story Behind the Upside-Down Tart
The story goes that in the late 19th century, two sisters, Stéphanie and Caroline Tatin, managed the Tatin Hotel in Lamotte-Beuvron, France. One day, during a busy lunch service, Stéphanie was in a rush while making an apple tart. She put the apples in the pan but forgot to add the crust underneath—the crust usually goes on the bottom and the apples on top.

So, she put the pastry on top of the cooked apples instead and popped the dessert in the oven. When it was done, she flipped it to serve, and the caramelized apples ended up on top of the crust. This mistake-born dessert was an instant hit! It quickly became the Tatin sisters’ specialty.
As the dessert’s fame spread, Curnonsky, a famous chef of the time, brought it to Paris. That’s how the Tarte Tatin became famous worldwide. Sometimes, truly wonderful things can come from the most unexpected mistakes!
And now, I’m going to share the recipe for this happy accident of a dessert. I’ll give you the recipe as I learned it, but I’ll also share my experiences and mistakes so you don’t have to make the same ones. Ready? Let’s get to the recipe!
Ingredients (for two)
For the Dough:
- 6–7 tablespoons all-purpose flour
- A pinch of salt
- 3 tablespoons butter, cubed
- 2–3 tablespoons cold water (or just enough until the dough comes together)
For the Caramel & Apples:
- 2 apples
- 2 tablespoons butter
- 4 tablespoons granulated sugar
Let’s Start Cooking! Step-by-Step Guide
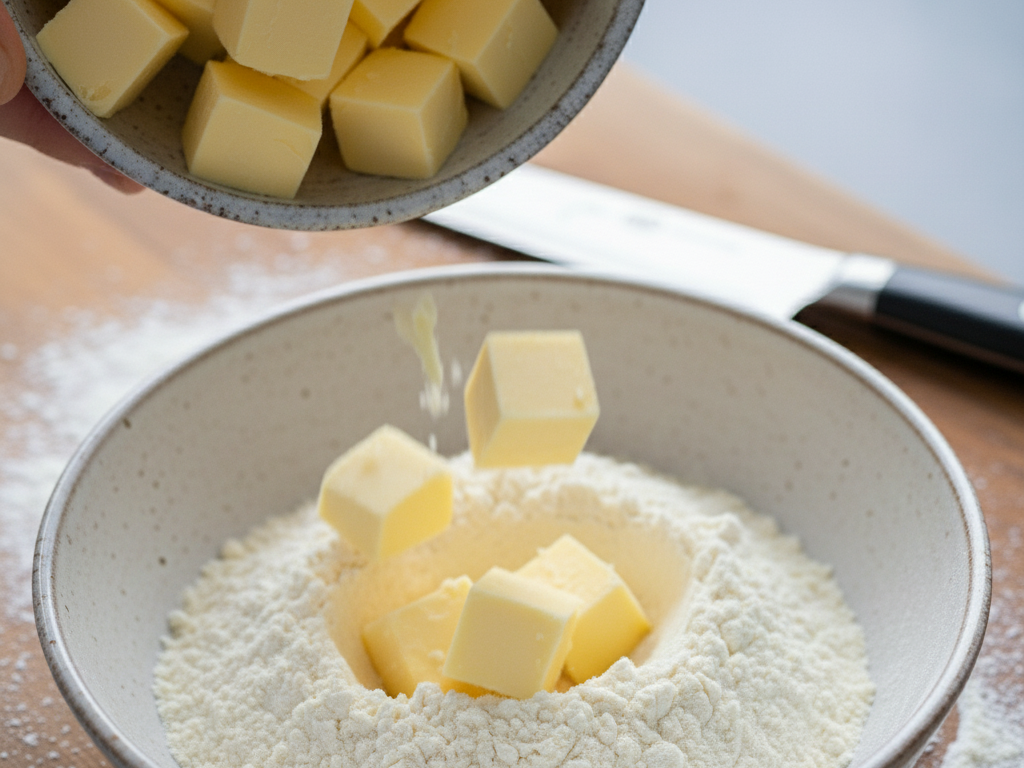
First, mix the flour and salt in a large bowl. Add the cold, cubed butter and use your fingertips to mix it into the flour until it looks like coarse sand. It’s important to use your fingertips and not your palms, as your body heat can melt the butter. The goal isn’t to completely blend the butter into the flour, but to coat the flour with tiny bits of butter. You’ll see small pieces of butter in the mixture, but don’t worry—that’s exactly what you want!
Next, gradually add the cold water and bring the dough together without kneading it too much. Wrap it in plastic wrap and let it chill in the fridge for at least 30 minutes.
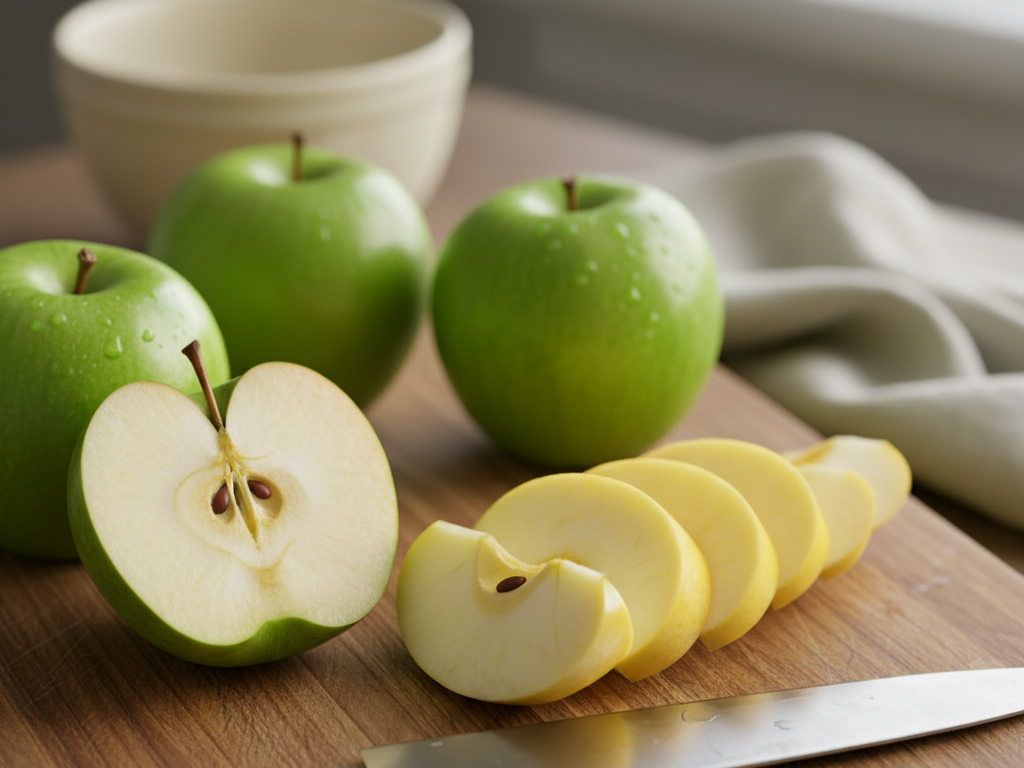
While the dough is chilling, prepare the apples and caramel. Quarter the apples and core them, then cut them into two or three pieces to create half-moon slices.
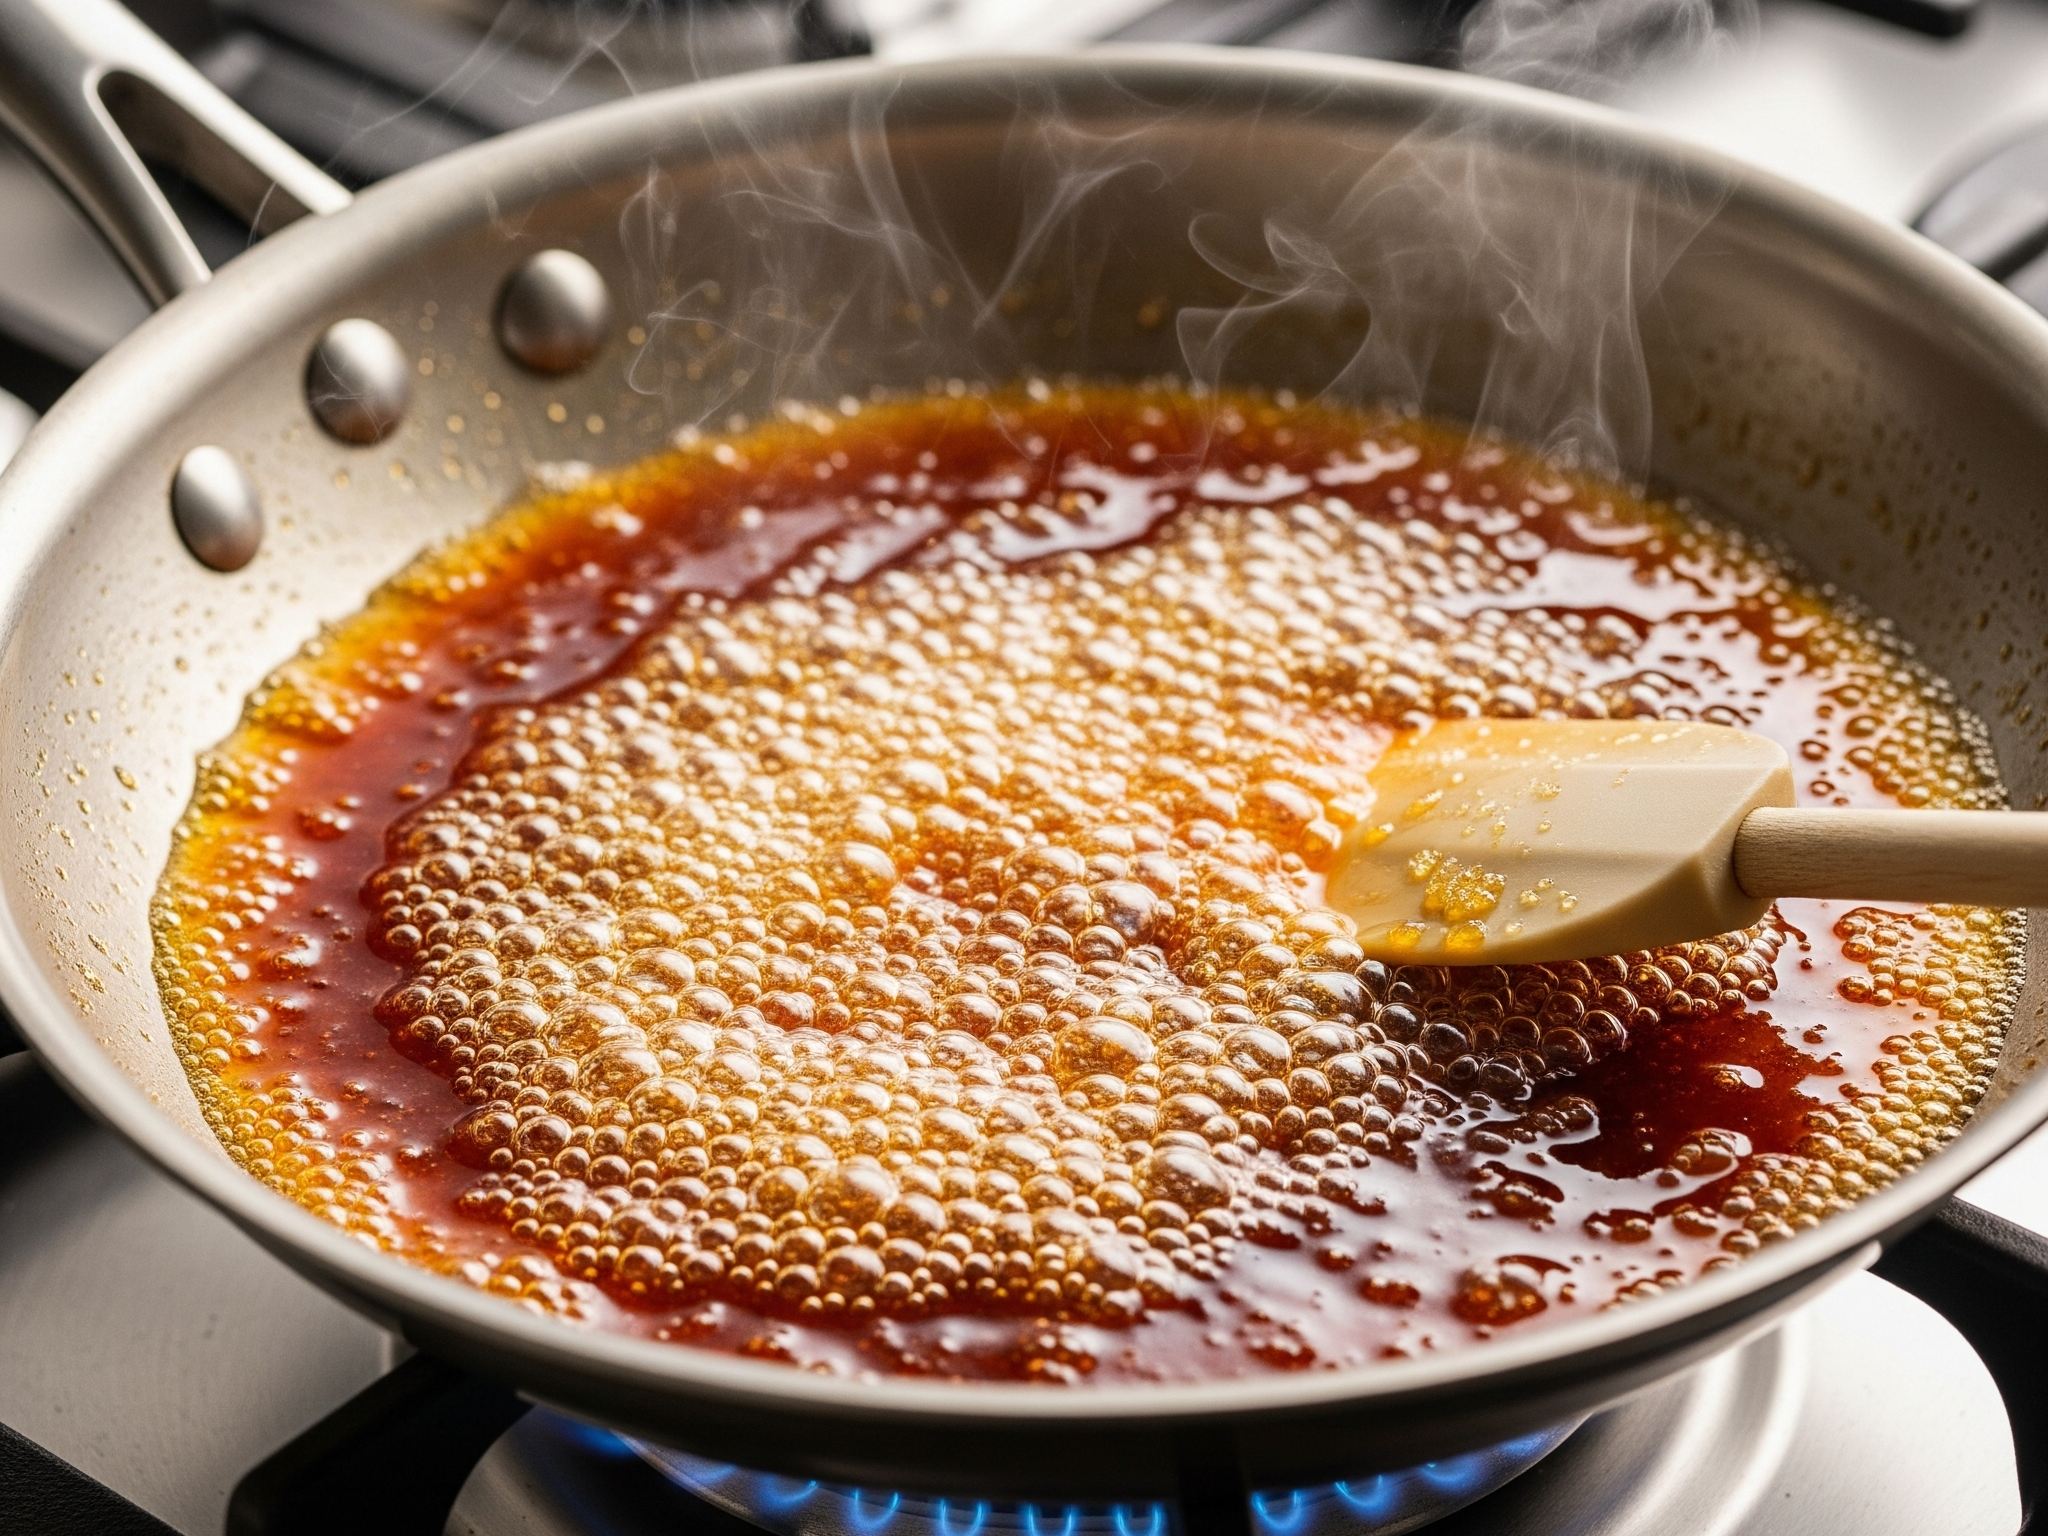
Tips for Perfect Caramel (Avoid My Mistakes!)
Melt the sugar over medium heat in an oven-safe, non-stick pan. This is where I messed up! I learned the hard way that you’re not supposed to stir the sugar with a spoon.
The right way is to move the pan around to mix it. I stirred it at first, and the sugar crystallized, so I had to start over. Make sure to move the pan and avoid using a spoon as much as possible.
If you don’t have an oven-safe pan, no problem! I just melted the sugar in a regular pan and then transferred it to a small, round baking dish.
Once the sugar is completely melted and has a beautiful golden color, add the butter. Once they’re combined, remove the pan from the heat.
Assembly and Baking
If you made the caramel in an oven-safe pan, arrange the apple slices tightly in the pan. If you’re using a baking dish, pour the caramel in first and then arrange the apples on top, making sure there are no gaps. This recipe is for two, so make sure to use a small dish and ensure the caramel is spread everywhere. I didn’t pay enough attention to the gaps, and the result was a bit funny-looking!
Preheat your oven to 180 degrees Celsius. Take the dough out of the fridge and roll it out to about a half-centimeter thick, making sure it’s large enough to fit over your pan or dish. Place the dough over the apples, tucking the edges in to hug the fruit. Bake for 25–30 minutes.
The Grand Finale: The Flip!
Once the top is golden brown, take it out of the oven and let it rest for 5 minutes. Place a serving plate on top of the pan and carefully flip it over. Be very careful, as it will be hot!
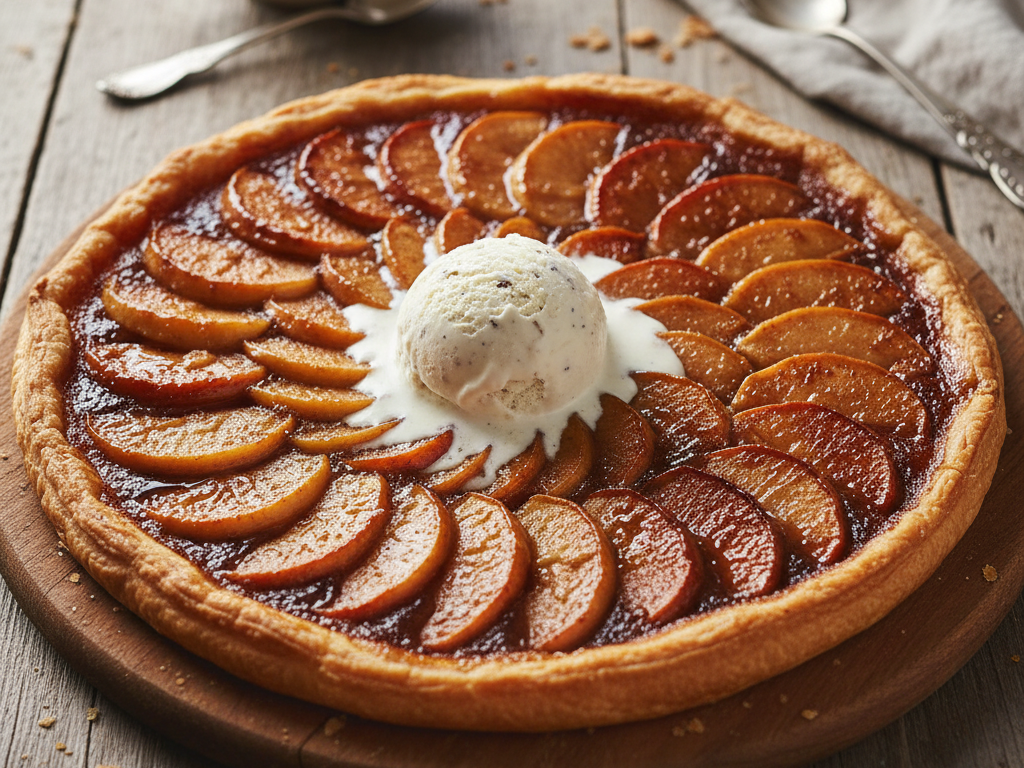
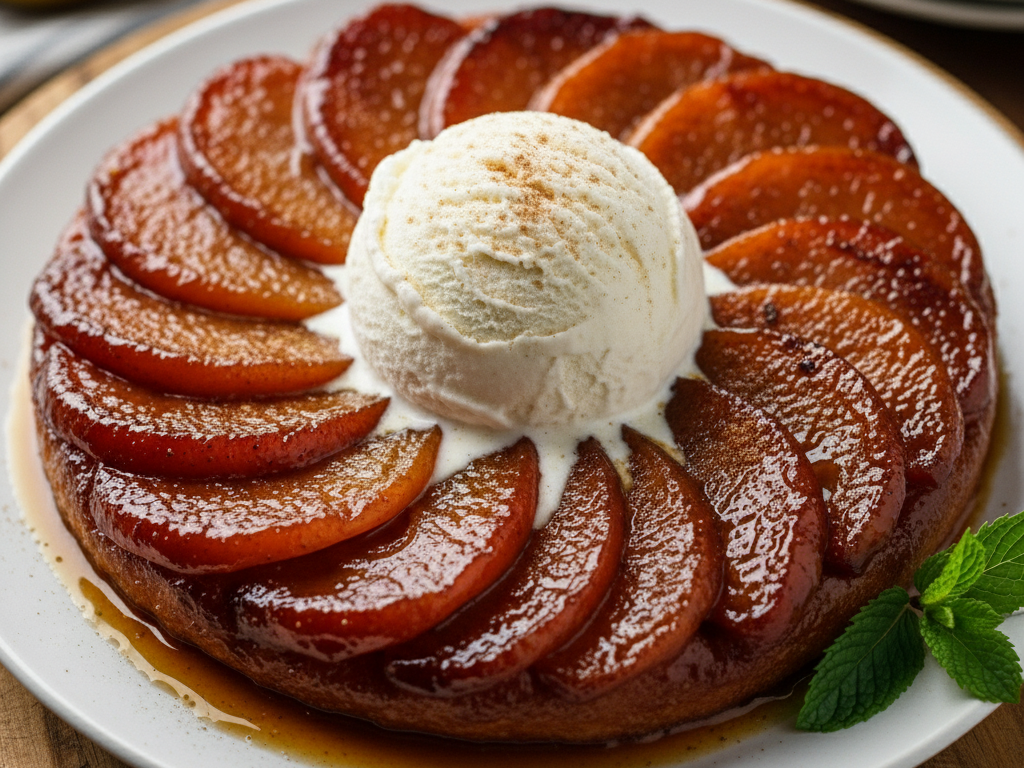
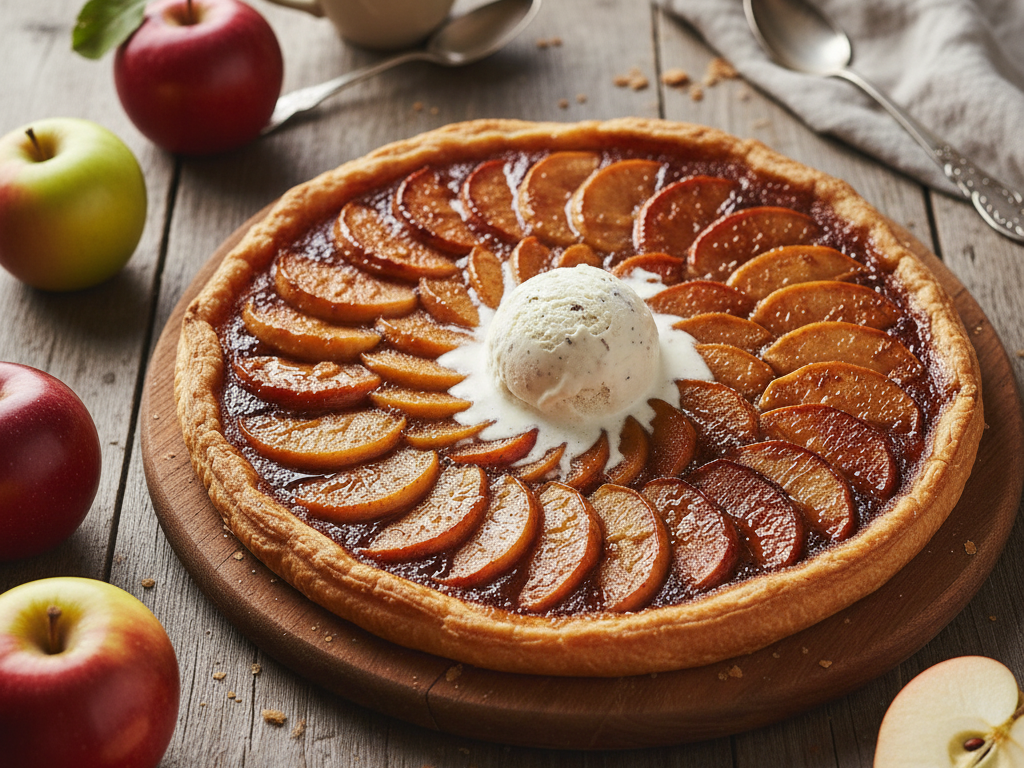
And your Tarte Tatin is ready! You can serve it warm with a scoop of vanilla ice cream.
Honestly, when I first looked up the recipe, everyone said it was super easy. But as you can tell from this post, it was quite a challenge for me. I ended up saying to myself, “My respect for everyone who cooks just went up!”
As for my result? The taste was great, but the look wasn’t exactly what I expected. The caramel was a little overpowering, probably because I left it on the heat for too long, but it wasn’t an unpleasant taste, and I still liked it.
Anyway, the goal isn’t to get a perfect result. It’s about being brave enough to step into the kitchen and say, “Today, I’m going to try a new recipe,” enjoying the experience, and most importantly, having fun! I hope you all had a blast. Don’t forget to share your creations with me. See you at our next flavor stop! 🌻